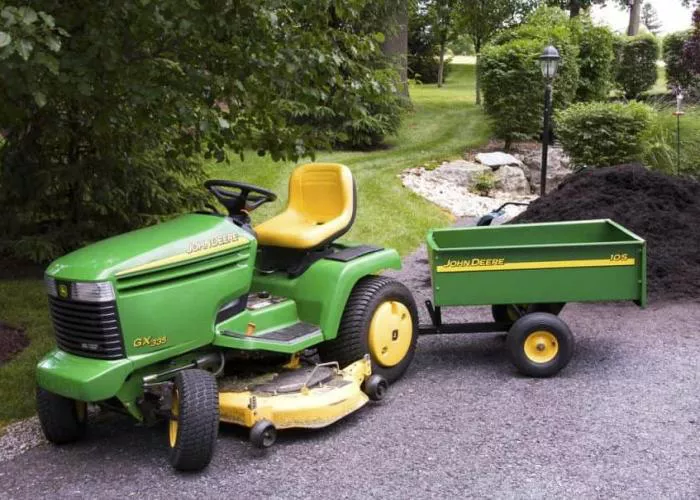
When it comes to maintaining a John Deere lawn mower, one of the most common questions is whether the blades have reverse threads. Understanding the threading direction is crucial for safe and proper blade removal or installation. Many homeowners struggle with stuck or incorrectly removed blades simply because they assumed the threading was standard when it wasn’t. This article will provide a detailed explanation of John Deere mower blade threading, along with essential maintenance tips to help you avoid costly mistakes and keep your equipment in top condition.
Understanding Lawn Mower Blade Threading
Lawn mower blades are attached to the spindle or mandrel with a bolt. The threading direction determines how the bolt tightens or loosens. Most bolts follow the standard right-hand thread, meaning they tighten clockwise and loosen counterclockwise. However, some mower blades use reverse threads to prevent loosening during operation.
John Deere lawn mowers typically use standard right-hand threads for their blades. This means the bolt tightens clockwise and loosens counterclockwise. However, there are exceptions, especially in older models or specific designs. Always verify the threading direction before attempting blade removal.
Why Some Mower Blades Use Reverse Threads
Reverse threads are not common in John Deere mowers, but they exist in certain models. The primary reason for reverse threading is to prevent the blade bolt from loosening due to rotational forces. When the blade spins, the torque can cause a standard-threaded bolt to loosen over time. A reverse thread counters this effect by tightening as the blade rotates.
For example, some riding mowers or zero-turn models may use reverse threads on one side of the deck to ensure stability. However, most John Deere push mowers and newer models stick to standard threading. Always check the owner’s manual or consult a professional if unsure.
How to Determine the Thread Direction on Your John Deere Mower
Identifying the thread direction is simple if you follow these steps:
Inspect the Blade Bolt: Look at the bolt holding the blade. If the threads slope upward to the right, it is a standard right-hand thread. If they slope upward to the left, it is a reverse thread.
Check the Owner’s Manual: The manual will specify the threading direction for your specific model. This is the most reliable method.
Consult a Dealer or Technician: If you cannot find the information, a John Deere dealer or certified technician can confirm the threading.
Attempting to force a bolt in the wrong direction can damage the spindle or the blade. Always use the correct tools and follow safety precautions.
Steps to Safely Remove a John Deere Mower Blade
Removing a lawn mower blade requires caution. Follow these steps to avoid injury or damage:
Disconnect the Spark Plug: Always disconnect the spark plug wire to prevent accidental starts.
Secure the Mower: Place the mower on a flat surface and block the wheels to prevent movement.
Use a Blade Removal Tool: A blade removal tool or a wooden block can help hold the blade in place while loosening the bolt.
Apply Penetrating Oil: If the bolt is rusted, apply penetrating oil and let it sit for a few minutes before attempting removal.
Turn the Bolt Correctly: For standard threads, turn the bolt counterclockwise to loosen. If it does not budge, double-check the threading direction.
Inspect the Blade and Spindle: Once removed, inspect the blade for damage and the spindle for wear. Replace any worn or damaged parts.
Common Mistakes When Handling Mower Blades
Many users make mistakes when removing or installing mower blades. Here are some common errors to avoid:
Assuming All Blades Are Reverse Thread: Not all John Deere mowers use reverse threads. Always verify before turning the bolt.
Using Incorrect Tools: An improper wrench or socket can strip the bolt head, making removal difficult.
Ignoring Safety Precautions: Failing to disconnect the spark plug or secure the mower can lead to accidents.
Forcing the Bolt: If the bolt does not loosen easily, do not apply excessive force. Check for reverse threading or seek professional help.
Maintaining Your John Deere Mower Blades
Proper blade maintenance ensures a clean cut and extends the life of your mower. Follow these tips:
Sharpen Blades Regularly: Dull blades tear grass instead of cutting it, leading to a ragged lawn. Sharpen blades every 20-25 hours of use.
Balance the Blades: An unbalanced blade causes vibration, which can damage the mower. Use a blade balancer to check balance after sharpening.
Replace Worn Blades: If a blade is bent, cracked, or excessively worn, replace it immediately.
Clean the Underside of the Deck: Grass clippings and debris can build up, reducing efficiency. Clean the deck after each use.
Conclusion
Most John Deere lawn mower blades use standard right-hand threads, but exceptions exist in certain models. Always confirm the threading direction before removing or installing a blade to prevent damage to the spindle or injury. Proper tools, safety precautions, and regular maintenance will keep your mower running smoothly while ensuring a clean, healthy cut for your lawn. If you’re ever uncertain about your mower’s blade threading or encounter stubborn bolts, consult the owner’s manual or a John Deere technician for professional guidance. By following these best practices, you’ll extend the life of your equipment and maintain a well-groomed yard season after season.
Relateed topics:
- HOW TO SHARPEN JOHN DEERE LAWN MOWER BLADES?
- 4 BEST 48 INCH RIDING LAWN MOWER
- 5 BEST SEATED LAWN MOWER

