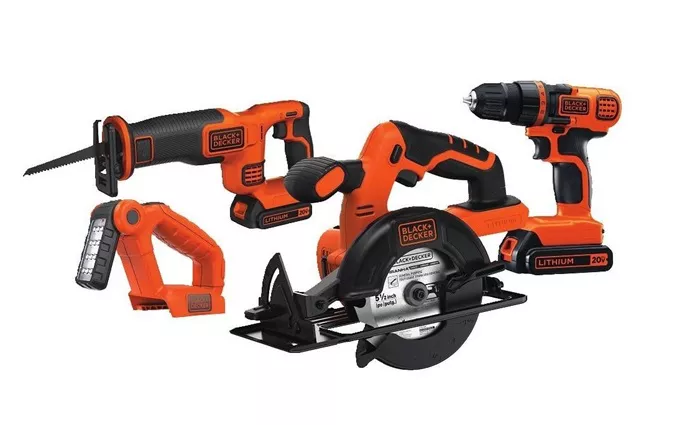
A well-organized workshop starts with proper tool storage. A power tool rack keeps your drills, saws, and sanders within easy reach while protecting them from damage. Whether you’re a professional or a weekend DIYer, building a custom power tool rack can save space, improve efficiency, and extend the life of your tools.
This guide covers everything from material selection to safety tips, ensuring your rack is sturdy, functional, and tailored to your needs.
Why You Need a Power Tool Rack
Power tools are expensive investments. Storing them improperly can lead to damage from moisture or dust, tripping hazards from cluttered floors, and reduced efficiency due to misplaced tools.
A dedicated rack solves these problems by maximizing vertical space, preventing accidents, and extending tool lifespan. Wall-mounted racks free up floor area, eliminate tangled cords, and reduce wear and tear on your equipment.
Choosing the Right Materials
Heavy-Duty Steel
Heavy-duty steel is rust-resistant and supports substantial weight, making it ideal for heavy tools like circular saws. However, it requires sturdy wall anchors and may not be the best choice for damp environments.
Reinforced Wood (Pine or Plywood)
Reinforced wood is easy to customize, lightweight, and affordable. Pine or plywood works well for most DIY projects, though it has a limited weight capacity and may need weatherproofing if used in garages or outdoor spaces.
Hybrid Designs
For added versatility, consider combining steel hooks with wooden shelves. This approach allows you to customize storage for different tool sizes while maintaining durability.
Step-by-Step Construction Guide
Measure Your Tools
Start by listing all your tools, including drills, batteries, and chargers. Note their dimensions and weights to ensure your rack can accommodate them securely.
Design the Layout
Wall-mounted racks with pegboards offer adjustable hooks for flexible storage. Freestanding units with locking wheels are better suited for large workshops where mobility is needed.
Assemble the Frame
Cut your chosen material to size—for example, a compact rack might measure sixteen inches by thirty-two inches. Drill slots for hooks or shelves, and consider adding LED lighting for better visibility in dimly lit areas.
Install Safety Features
Use anchor bolts to secure heavy loads and non-slip padding to prevent tools from slipping off shelves. These small additions can make a big difference in safety and stability.
Pro Tips for Customization
Labeling slots helps with quick access, while integrated USB ports can keep battery-powered tools charged and ready. Color coding different sections of your rack can further streamline organization.
Safety Checks
Before loading your rack, test its weight capacity to avoid overloading. Keep racks away from water sources to prevent rust or electrical hazards, and inspect them monthly for loose screws or signs of wear.
Conclusion
A DIY power tool rack is a practical upgrade for any workspace. By selecting the right materials and tailoring the design to your tools, you can create a durable, clutter-free storage solution. Even a basic plywood rack can significantly improve your workflow, so start small and expand as needed.
Related Topics:

